I actually did a lot of sewing in my time--it started at the age of ten with a garage sale sewing machine. I hemmed a lot of washcloths made from Goodwill terrycloth bathrobes (don't ask--it's just the way it was--was it Idaho? or just my wacky family? I'm not sure.) and then graduated to Barbie clothes and furnishings. By the age of 12 I was sewing pajamas for my siblings (a safe bet for them, they didn't have to wear them in public). Eventually I graduated to regular clothes. I spent a lot of time with a seam ripper but I did improve over time. My children then became the lucky recipients of my mad sewing skills. I decked them out in awesome summer shorts made of blindingly bright patterned fabrics of the 90's. (Crazy watches anyone? How 'bout roller skates?) I have pictures but I will spare them. For now.
So, every now and then I get a hare-brained idea for a lesson or activity and I knock myself out trying to make it work. This was my latest:

It was for our "Heart-to-Heart" Visiting Teaching Conference. When you are using the word HEART-FELT it is just crying out for a FELT HEART.
These would make cute Valentines too--in fact I am making some for my adorable little granddaughters. As soon as the blister on my finger heals. This little idea required the cutting of 90 heart shapes with pinking shears.

First, make a heart pattern for the felt. I started out making both sides the same size. Then I decided I wanted the back color to show around the edge. So I did a lot of trimming. I will save you the trouble...

Make a smaller heart pattern for the fabric front.

And make a medium pattern for half of each heart. I alternated between the red and pink for variety.
Some had a pink back and red middle and others vice versa.

Stack the three pieces and sew just inside the edge of the top piece. Leaving an
opening for the stuffing.
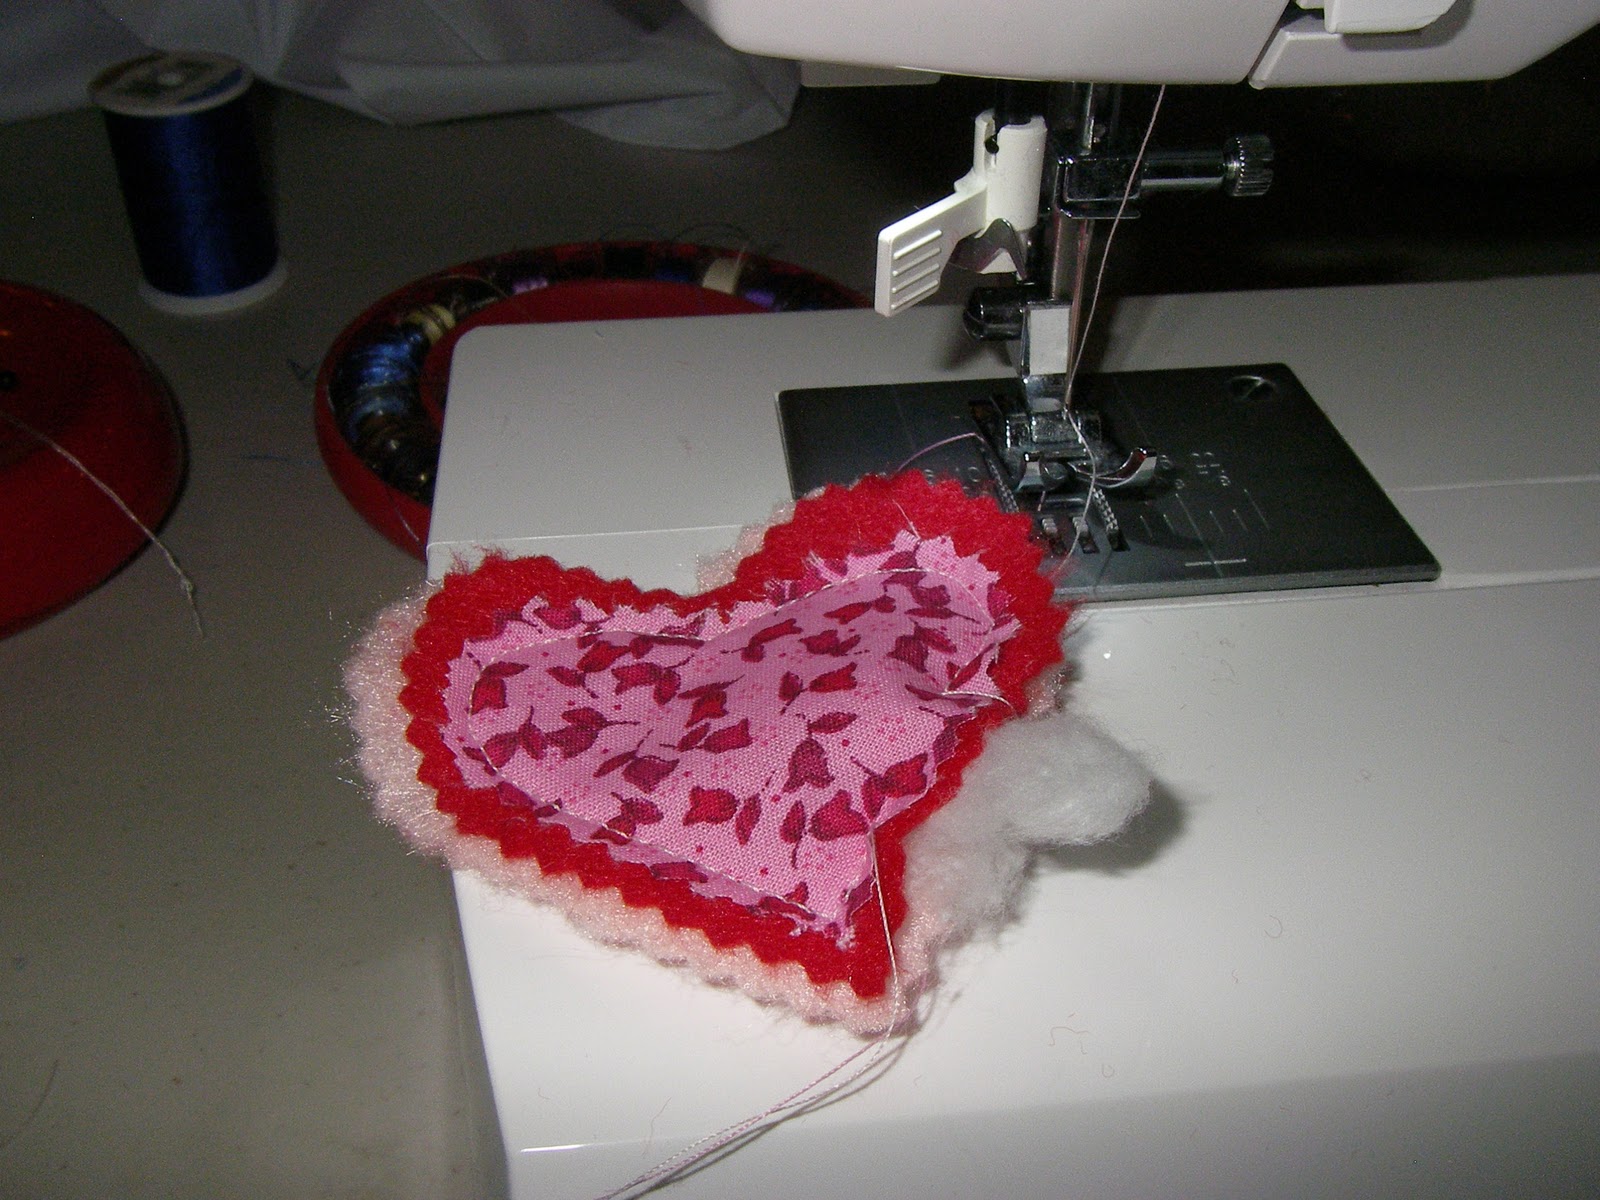
It's easiest (don't worry, I figured it out the hard way so you don't have to) to leave the
opening on the straighter side of the heart.
I used cotton balls that I pulled apart.
Use something pointy (pencil, crochet hook, scissors) to push the stuffing up into
the rounded parts of the heart.
I kept it on the machine while I stuffed it and then just sewed up the opening.

When you have made your gazillion hearts, you can make the
handout parts. And then assemble everything. I just used
3X5 cards that I had on hand. I printed out the thought and
cut them apart with decorative scissors.

The little heart punch was a cute touch.

And there you go.
It was all worth it when I pulled them out at the end of my presentation
and I got a collective "Awwww"
from my Relief Society sisters.

This is the pile of Misfit hearts. Sewing around a small
heart shape is not as easy as it looks.


No comments:
Post a Comment